So, all night I spent my time working on a cosplay element instead of sleeping, and preparing for both of my appointments the next day. What can I say? I was on a roll. Luckily I had the forethought to document what I was doing, so I could not only share it with others, but reference it myself later.
I decided that I wanted to actually sculpt, and cast the earphones instead of building them out of wood, or anything like that. The initial plan is to sculpt them out of clay, create a silicon mold, and cast them in either resin or plastic. I haven't decided which yet though.
I obviously cannot do the majority of this in an apartment. Especially with birds that are incredibly sensitive to fumes of any sort. Luckily I have at least one lead on where I can go to work on this element once the sculpting is done. Why aren't there any public workshops in Washington? I feel like it'd be so handy for people like myself.
Anyway, I started off with the easy part, and by easy, I mean the part that I already know somewhat how to do. I know my first sculpt isn't going to be perfect, but I tried my best. Here goes:
~~~~
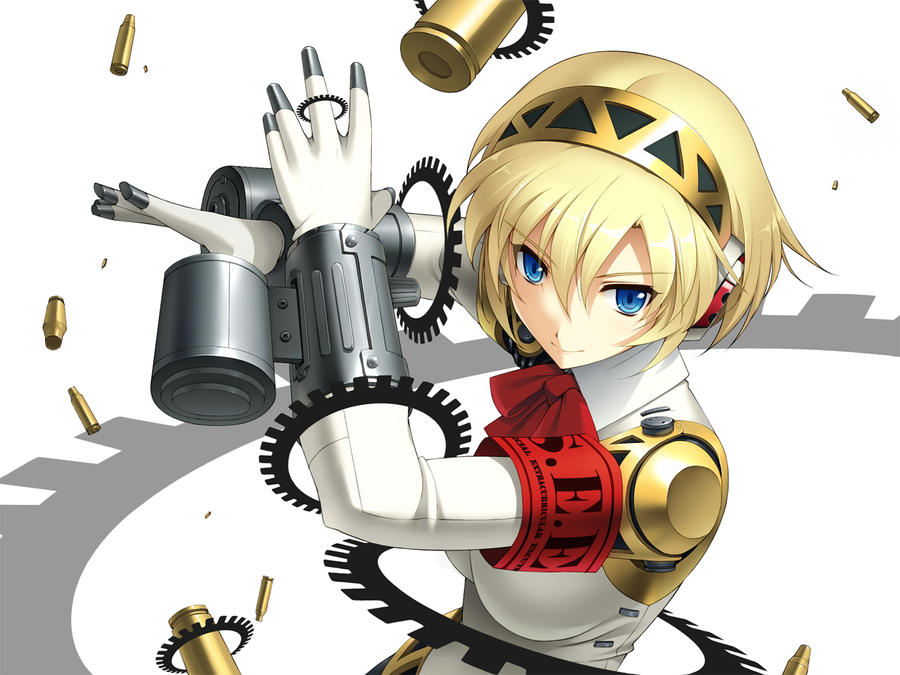
Aigis's headphones
I already had on hand some Jolly King Modeling clay from the last time I got it into my head that I wanted to sculpt and cast something. That something turned out to be a sculpture of Cortana that years later I have yet to finish, though she is coming along nicely. There was plenty of clay to go around.
I started out with a sizeable chunk of clay. Jolly King is incredibly thick, and hard to work with, so in order to flatten the clay down into a disk like shape I took a hammer to it. I enjoyed a good five minutes of childishly, and mercilessly unleashing hell on a lump of clay. I conceded shortly before I was sure the clay was ready to surrender.
I formed the now flattened clay into a vaguely disk-like shape. From there I began to fold the edges down underneath the disk to give the edges a slight curve. I made sure to reinforce it with more clay around the inside of the lip I'd created. My earphone was now very frisbee-like.
I took great care to solidify the shape and smoothness of the disk.
 |
| Smoothing the surface |
 |
Pinching the edges until the disk is
the same width all around |
Here the relatively round and smooth finished product. From here I am able to start some of the detail work. It's not perfect, but when doing it by hand in the manner I have been I didn't expect it to be.
 I actually have a fairly nice collection of detail sculpting tools that I enjoy using. they're especially great for small cracks and crevices that need smoothing. They aren't necessary for something like this, but they certainly help. I've been known to utilize the strangest household items to get the effect I want. You can pretty much use anything to aid in sculpting.
For instance. I needed something round to use as a guide for the detail work. A brief glance around the room revealed to be the option of using the cap of my Black Moor Golfish's pellet food.
 |
| Sorry Morris |
It was close enough to the right size to use to make an indent in the clay.
From there I was able to trace around the circle to establish the shape and size that I wanted. You can see below how I traced around the indent on either side of it to create the effect I wanted.
Now it was time to really dig in. No, I mean it. I had to dig out a portion of the clay disk to begin the detail work.
I allowed myself to keep the indent fairly rough throughout the process of creating it. Once I was finished I spent some time evening everything back out again.
Once I was satisfied with how even the disk was I proceeded to even further detail work. I began adding the holes. I mapped them out first with a very slight prick from a sculpting tool so that I could easily fix any mistakes in alignment.
Once I was satisfied I used the same tool in a drill-like motion to work a large hole into the place of each slight indent.
Now I was ready for the final element of the detail work. I rolled a small amount of clay into a ball, and again using Morris's pellet food lid, I flattened the mass into a tiny disk. I place this disk in the center of the sculpture.
I smoothed out the are around it, and moved on to the connecting pieces. You may need to re-poke the holes while cementing the small disk onto the sculpture. I cut three strips of clay off of the block, and cut them in a tapered shape equal to each other.
I then fitted each piece to the sculpture and smoothed them into place.
Once the pieces were adequately attached, I took one final step and added more dimension to the sides of the piece. I cut strips of clay, and fashioned them into a crown for the bottom of the sculpture, where I then attached them to create the final product.
Here's the finished sculpt from a couple angles, as well as a comparison of size in proportion to my face.

 My wig came! For Aigis anyway. The other two are going to have to wait. Although, answer me this, how is it that I ended up cosplaying all blonds?